node.js Installation
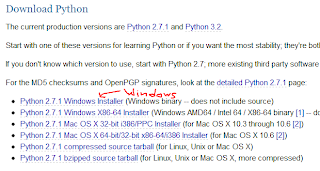
First we have to get a working node.js binary. You can find a precompiled node.exe file in the apropriate folder under http://nodejs.org/dist/ . At the time of this writing the newest version is 0.5.10, so I used the following address: http://nodejs.org/dist/v0.5.10/node.exe
Clone doctorjs repository
Now get the newest version of doctorjs by cloning the repository with git. I used Git for Windows (portable version) for this. To clone it use the following command:
F:\> git clone --recursive https://github.com/mozilla/doctorjs.gitAlternatively, github provides a packed zip file of the repo.
Test run
Open up the command line and navigate to the folder where you saved node.exe (F:\nodejs in my case).
Use the following command to set the environment variable NODE_PATH in this test session:
F:\nodejs> set NODE_PATH=F:\doctorjs\lib\jsctagsThis is necessary because otherwise it's not possible for node.js to locate the required libraries to run doctorjs:
Finally we can test our setup:
F:\nodejs> node.exe F:\doctorjs\bin\jsctags.js -hVim and tagbar plugin
I created an batch file jsctags.bat that basically executes these steps above.
With this script it is possible to use the tagbar plugin for Vim (or any other plugin generating tag files via jsctags). As a last step we add the path of the directory containing jsctags.bat to the environment variable PATH. To do so, add something like the next line to your _vimrc configuration file:
let $PATH = 'F:\jsctags;' . $PATHDone!


